bottomview:
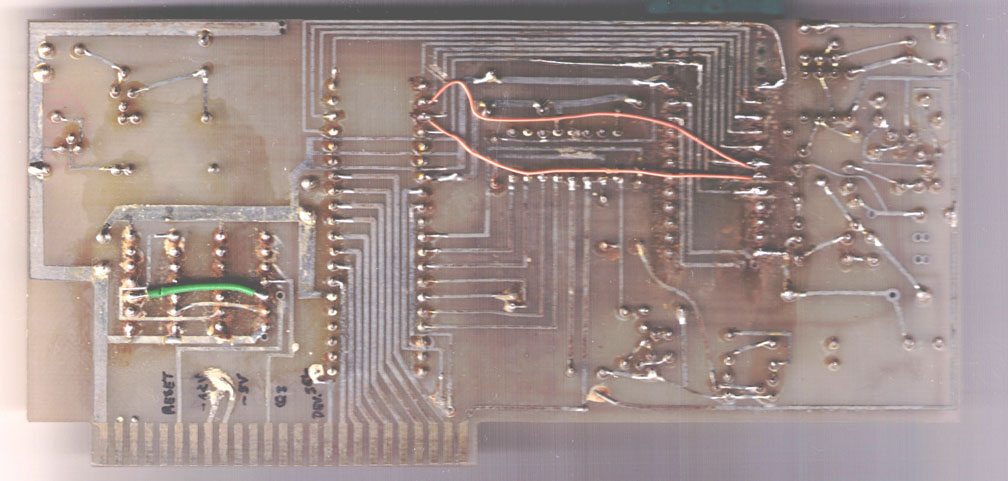 |
It
seems that the PCB was not made by professional
PCB - service but seems to be rather more a kind of
"homebrew" product. Even the points where a
contact-through is desired a piece of wire was
soldered in to make sure that at both side a contact
is given. At the other hand in those days only very
customers were targeted by the card and it seems
clear that they never expacted more than 250 to 300
cards to be sold.... |
topview:
 |
The card was designed to only program
the most
common types of eproms ( 1979 to 1980 ) so at that
days the 2764 was not introduced to the market and
therefor this card did not support the larger eproms
´ with 28 pins like the 2764 or 27128.
As far as i know also the software was never updated. |
Parts on Board:
 |
In this picture the values of
the components have
been added. The values in this picture together
with the componentlabels in the next picture enable
the reader to identify every component in the later
following pictures and circuitplans and use then
components with the exact same values..... |
Here again the PCB as drawing with colored groups of components
and sorted by Componentlabels:
 |
In this picture the components
have been labeled
with identifiers. Together with the values of the
components listed in the picture above every
component listed later in the circuitplans is exactly
specified in unique manner. The different colors are
used to group components together at logical
parts.
|
Here are the traces from the backside of the PCB:
 |
This is the backside of the card
and the traced layer. |
Here are the traces from the frontside of the PCB:
 |
This picture shows the traced layer on the top of
the
card. It took quite a while to find out the correct
connections with a multimeter, due to the fact that
i of course didn´t want to destroy the card and
several traces are beneath the sockets.
the both pistures on this page are in lower resolution,
but in the PDF-documents the pistures are in high
resolution.
Though some of the readers might probably use the
pictures to generate a reproduction of the PCB in a
software like kiCAD to get a PCB made with one of
common PCB-services ( such a PCB would be made
as a trialedition for something about $ 50,00 ) i want
to take another way in this pages: the circuitary on
the PCB is rather simple and i want to try to make
an alternate PCB that is only single sided and therefor
can be etched with simple amateur-equipment. As
connection to the appleslot a old damaged card
or a used experimantalcard may be used. |


