USB to Serial adapter
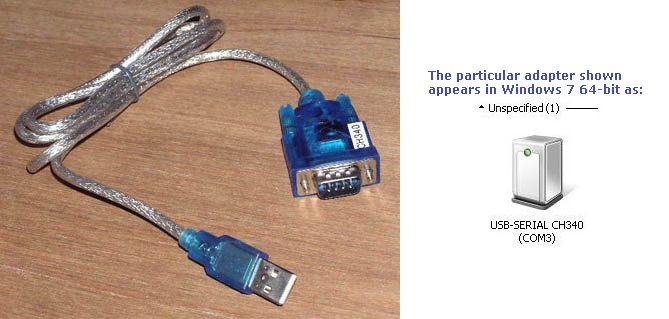
Just one example of these adapters is pictured above.
The driver for these adapters often makes the port appear to Windows as COM3 or COM4, and not COM1.
If it does appear as COM2 or COM3 or COM4, you will need to adjust step 6.2 of the procedure accordingly.
For example, if your adapter appears in Windows as COM3, what you would enter at step 6.2 would be serial1=directserial realport:com3
That would make the serial port appear as COM1 in DOSBox, what the preconfigured Laplink is expecting.
PROBLEMS
With the model shown above, I only had partial success using Laplink 3.
As expected, Laplink on the modern computer would:
1. Display "Contacting REMOTE computer ...", then
2. Display "Sending bootstrap", then after about 1 minute of sending,
3. Display "Sending LL3.EXE", then after a few minutes of sending,
4. Display "Laplink on REMOTE computer and running ...", then after about 10 seconds,
5. Start Laplink on both computers.
The problem then was that both copies of Laplink would not communicate with each other.
If I then did what was required to switch to the serial port on the motherboard, then the procedure worked.
If I then switched back to the adapter, I would see the same problem as described above.